


Tento e-shop využívá cookies a bez jejich použití není schopen fungovat.
Důležitá informace pro zákazníky: Každá objednávka je závazná, je možné ji zrušit jen do okamžiku odeslání zásilky. Pokud nebude expedovaná objednávka zaslaná na dobírku zákazníkem vyzvednuta, bude požadováno uhrazení vzniklých nákladů na odeslání zboží. Vytvořením objednávky souhlasíte s našimi obchodními podmínkami a smluvní pokutou ve výši dopravy. Pokud u zboží máte možnost „Do košíku“, znamená to, že zboží máme skladem a můžete si ho okamžitě vyzvednout v naší prodejně (toto se netýká pro zboží, které mají na webu poznámku o dostupnosti, jako baterije k notebookům, v tomto případě prosím počkat na zprávu o podmínkach vyrizení objednávky). Lepší je, si zboží objednat v e-shopu, pokud by to byl poslední kus, aby nebyl prodán na prodejně. Chyby, změny designu a technických parametrů vyhrazeny. Fotografie a barva zboží je pouze ilustrativní na ukázku a někdy se mohou lišit od skutečného vzhledu předmětu. Avšak toto nemění jejich základní vlastnosti.. Doporučujeme objednávat zboží dle popisu, nikoliv dle obrázku.

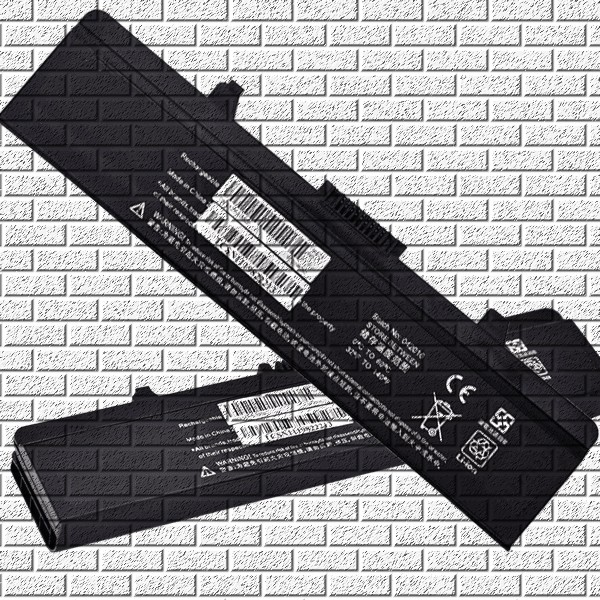
How to Calibrate a Laptop Battery
27. 09. 2024, 16:59
Before use, the battery should be calibrated so that it works correctly.
Laptop batteries have a relatively short service life. You should take care of the battery so that it lasts as long as possible. Practically every laptop battery contains Li-Ion cells. These cells do not benefit from being completely discharged, constantly kept fully charged (for example, when the laptop is permanently connected to the power adapter), or left unused for long periods. High temperatures can also affect battery cells, so cooling pads are recommended.
Ideally, the battery should remain between 20% and 80% charged. It should therefore normally not be completely discharged.
After approximately 100 charging cycles, the battery should be calibrated. Note: if the battery is at 50% and you fully charge it, this counts as half a charging cycle.
How can you successfully calibrate the battery and help extend its service life? It takes a little patience and time, but the result can be worthwhile. You can use two relatively simple methods for battery calibration. However, you should set aside enough time and avoid travelling with the laptop while the calibration is in progress.
Method No. 1 Calibration via BIOS
Many laptops have a battery calibration function programmed directly
in the BIOS. How do you access the calibration program and the BIOS itself?
BIOS calibration
Step 1: Turn on
the laptop (it must previously have been completely switched off) and immediately after startup press the
F2 key. This will open the BIOS. You generally cannot navigate the BIOS using a mouse, only
with the keyboard. Use the arrow keys to navigate to “Power menu” or “Power Management Settings”
and press Enter.
Step 2: Select “Start
Battery Calibration” and press Enter again.
Step 3: The screen
may turn blue at this point. You should then see an instruction asking you to connect
the laptop to the mains power supply. The battery will gradually charge. Once it
indicates a full charge, disconnect the laptop from the mains power supply again.
Step 4: In the
next step, the laptop will deliberately discharge its battery until the device switches off.
Once it is switched off, reconnect the laptop to the mains. Do not switch it on; simply
leave it to charge. Once it is fully charged, the calibration is complete and you can use the laptop
normally again.
BIOS calibration is now complete.
Method No. 2 Manual calibration
There is another simple way to calibrate the battery and
increase its available capacity. If your BIOS does not include a battery calibration
program, or if you do not want to enter the BIOS, you can perform calibration through the Windows
power settings.
Step 1: Turn on
the laptop and go to the system settings. Open “Power & sleep”.
Then go to “Additional power settings”.
How to calibrate
Step 2: Select
“Change plan settings”.
How to calibrate
Step 3: Then
go to “Change advanced power settings”. A list of settings will open.
Select the battery section. In the battery menu, select “Critical battery
action” and set the action to hibernation.
How to calibrate
Step 4: In the
same menu, open “Critical battery level” and set it to 5%. Once
everything has been configured, close the settings window,
disconnect the laptop from the mains and allow the battery to discharge until the laptop switches off. You can
continue working on it normally while it discharges.
How to calibrate
Optional Step 5:
If you will not be using the laptop while the battery is discharging, set the time interval
for turning off the display and putting the computer into sleep mode to “Never”.
Step 6: Once the
laptop switches off, leave it switched off for several hours. Then
reconnect it to the mains and allow it to charge to 100%. Afterwards, restore any settings changed to “Never”
back to the normal settings you prefer.
And you are done.
Method No. 3 (for all laptops).
The actual battery level may differ from the battery level displayed in Windows. If the operating system detects a low battery level, it may switch the laptop off or perform another predefined action. However, if the battery still has charge remaining, the laptop could theoretically continue operating.
Fully charge the battery, switch off the laptop and disconnect the power supply. Then start the laptop on battery power, enter the BIOS (on many laptops this is done by pressing F2 during startup) and leave the laptop running in the BIOS until it switches itself off. While in the BIOS, the battery discharges without Windows being active.
Once the laptop switches off, reconnect it to the mains and immediately switch the laptop on. Windows can then detect the new actual lowest battery level and reset the battery level reading. You can then use the available battery capacity for normal laptop operation.
Frequently Asked Questions
How can I calibrate my laptop battery?
You can calibrate your laptop battery either through the BIOS or manually using the system settings. For BIOS calibration, turn on the laptop and immediately press the F2 key, then follow the instructions. For manual calibration, go to the system settings, then “Power & sleep”, “Additional power settings”, and follow the instructions.
What is the first step when calibrating a battery through the BIOS?
The first step when calibrating a battery through the BIOS is to turn on the laptop (it must previously have been completely switched off) and immediately press the F2 key. This will open the BIOS. Then use the arrow keys for navigation and follow the instructions.
How do I set the critical battery action during manual calibration?
To set the critical battery action during manual calibration, go to “Change advanced power settings”. Then open the list of settings, select “Battery”, then “Critical battery action”, and set the action to hibernation.
From our blog
All articles18. 07. 2026, 15:29

How to Choose a Remote Control: Complete Guide to Choosing the Right One
How to Choose a Remote Control: Complete Buying Guide Have you lost your remote control, has it stopped working, or do you need a replacement? Choosing the right remote control does not have to be difficult. ...
Read whole27. 09. 2024, 16:59

How to Calibrate a Laptop Battery
Before use, the battery should be calibrated so that it works correctly. Laptop batteries have a relatively short service life. You should take care of the battery so that it lasts as long as possible. ...
Read whole14. 03. 2024, 12:12

Replacement Chart for Silver Oxide and Alkaline Batteries
napětí [V] průměr výška [mm] Energizer AWI Bulova Duracell Maxell Panasonic Rayovac Renata Sanyo Sony Toshiba Seiko Varta jiný 1,5 11,60 ...
Read whole14. 03. 2024, 11:43

How to Choose a Primary (Non-Rechargeable) Battery?
Batteries for end consumers can, in simplified terms, be divided into two main groups. Although this classification is not entirely technical, they can be divided into standard and special batteries. Standard ...
Read whole








+420 777801557
info@deltamobile.cz
Deltamobile S.R.O.
Ovenecka 348/36,
17000 Praha 7,
Česká republika
Payment possibilities

Payment in store

Cash on delivery

Bank transfer – free of charge

Card payment
transport options

Personal pickup Prague 7

Balíkovna

Balíkovna delivery to address

GLS – Delivery to a pickup point

GLS – Delivery to an address

Czech Post – Registered mail

PPL Parcelshop

Zásilkovna
